“For many annuals and perennials, propagation from seed will provide a profusion of new, beautiful blooms that might otherwise be unavailable. I always think of a plant grown from seed as a little miracle,” says Renee Shamosh, Horticulture Chair of the Garden Club.
Under a redbud tree in a member’s garden, Renee demonstrated practices for saving seeds from perennials, annuals, and vegetables. Members brought seeds they’d collected from pollinator plants.

Saved seeds must be kept dry, so when it began to rain the group protected their collected seeds under a table set for tea and cake. The rain did not dampen the enthusiasm.
This seed-saving workshop included a demonstration of how to save heirloom tomatoes. One of the varieties Renee propagates was saved by a friend’s 98-year-old aunt. In the method shown under the “Horticulture Tips” tab (scroll down), the seeds are scooped from ripe tomatoes onto absorbent paper towels, then dried, labeled, and stored in a basket until spring planting time.
The members discussed the importance of identifying which plants are best grown from seed; which, like hostas and astilbes, are better propagated by division; and which, including Columbine and “see-through” Verbena (Verbena bonariensis), will self-sow, that is, spread their seed without any help from you.
The group traded seed pods from plants that are best grown from saved seeds, including butterfly weed (Asclepias tuberosa), swamp milkweed (Asclepias incarnata), false blue indigo (Baptisia australis), purple coneflower (Echinacea purpurea), coneflowers (Rudbeckia), and zinnias.
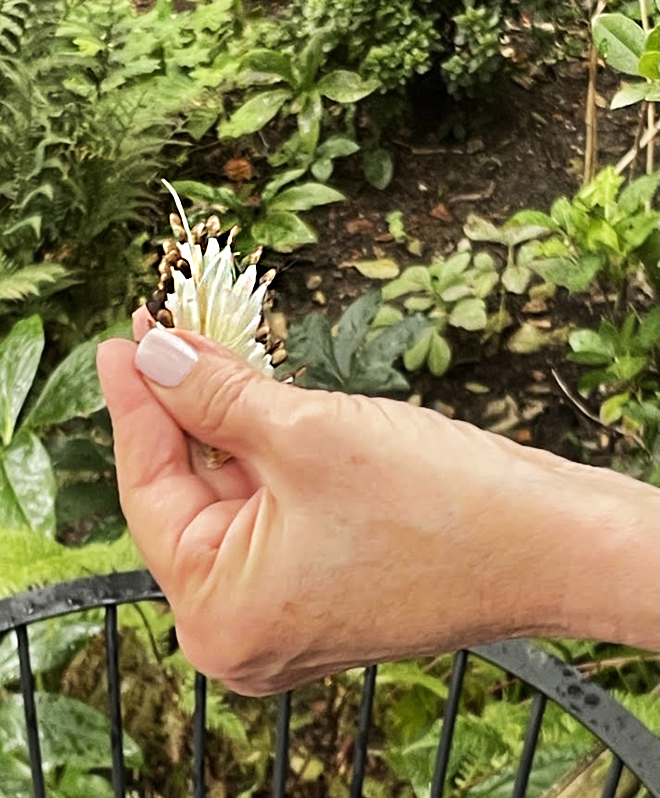
This seed pod of milkweed (Asclepias incarnata) is ready to disperse in the wind or share with others.
Perennial seeds can be planted in fall or mid-spring, depending on whether they need to be stratified (kept in cold, dry storage in order to germinate) or left outdoors in cold weather. They can be broadcast into a prepared area of loose soil (not lawn or hard ground) that’s clear of weeds, or they can be started outdoors in containers.
The meeting included a plant exchange, so everyone left carrying flats of plants dug and divided from their gardens, as well as with envelopes of seeds we hope to grow in the coming seasons.
One member has already had success with her Baptisia seedlings that are growing in containers.
Following are specific instructions [adapted from Hudson Valley Seed Company] for sowing milkweed (Asclepias incarnata), which can be applied to many other perennials.
Method 1: Sowing in Containers in the Fall
By sowing in containers, the seedlings will be able to grow big and healthy before transplanting. In order to become well established and come back year after year, each [milkweed] plant should grow to about 24″ high, allowing it to form a healthy rhizome, which it needs to overwinter before transplanting in the garden.
How to start: Fill 4″ to 6″ plastic pots with well-drained potting mix. Sow 5 to 10 seeds per pot, spacing them evenly, about 1/4 inch deep. Press into the mix and water well. Place the pots outdoors—on a porch or at the side of a house is ideal—and leave them to overwinter. In the spring, when temperatures warm, the pots should be moved into full sun to germinate in a spot protected from wind and hungry predators.
Method 2: Direct Sowing into Prepared Garden Soil in the Fall
The ease of this method is appealing. And it’s most similar to how milkweed propagates itself in its natural habitat. To be successful with this method, however, you’ll need to plan the location of your spring/summer patch now, in the fall, when most garden chores have ended. And if you broadcast, Renee warns, don’t walk away and assume that nature will work its wonders; some weeding will be required. The seedlings will also be susceptible to pests, perhaps even some very hungry caterpillars, which can keep them from surviving over the winter.

One member collected seeds from just one pod of what she believes are Echinacea Big Sky ‘Harvest Moon,’ which grow nearly four feet high in her pondside garden (where all the shorter varieties are eaten by groundhogs). She plans to try several sowing methods and see which works best.
Method 3: Sowing in Containers in the Spring
This is almost the same as Method 1, except you’ll need to “vernalize” the seeds, as follows: Eight weeks before the last spring frost—just after March 1 in our area—start the seeds in 4″ to 6″ plastic pots, as directed above. Water them well, cover them with plastic wrap, and place them in a refrigerator for 2 to 4 weeks. Then proceed as above. You can also start the seeds in cell trays, but larger pots are preferable because the root systems will have more room to develop.
Method 4: Direct Sowing into the Spring Garden
This is almost identical to Method 2, except you will sow the seeds in early spring, when nighttime temperatures are still in the 30s. The seeds can be sown later, though you might see decreased germination as the weather warms.
Happy growing!

This sweet red pepper was grown in a pot from seed.

Renee with her bounty from the workshop.